Dockerfile for a Spring Boot Project
Let’s assume you have a Java web application built with Spring Boot—for example, a sporting event management app called spring-boot-3-web.
To run this app inside a Docker container, you need to prepare an image that runs on Java. Suppose you're using Java 21, which means your base image should come with the Java 21 SDK.
Create a Dockerfile in your project root. It should begin by defining the official base image. Here’s what your Dockerfile might look like:
FROM eclipse-temurin:21.0.1_12-jdk
WORKDIR /app
COPY ./target/spring-boot-3-web-0.0.1-SNAPSHOT.jar /app
CMD ["java", "-jar", "spring-boot-3-web-0.0.1-SNAPSHOT.jar"]- FROM eclipse-temurin:21.0.1_12-jdk — Starts from the official Java image with JDK version 21.0.1_12. This image includes everything needed to run Java applications.
- WORKDIR /app — Sets
/appas the working directory. All subsequent commands run from here, and it becomes the default location for files in the container. - COPY ./target/spring-boot-3-web-0.0.1-SNAPSHOT.jar /app — Copies the compiled JAR file from the
targetdirectory into the container’s working directory. - CMD ["java", "-jar", "spring-boot-3-web-0.0.1-SNAPSHOT.jar"] — Defines the default command to run when the container starts, launching the Spring Boot application.
In summary, this Dockerfile creates a container image based on a Java JDK, sets the working directory, copies your application JAR file into the image, and defines the command to run it.
Building the Application Image
To build a new Docker image called sporting-events using the Dockerfile in your project directory, use the docker build command. The -t flag names the image, and the dot (.) indicates the current directory as the build context:
docker build -t sporting-events .
The build process can take a few seconds depending on your system’s resources. If you encounter issues due to insufficient memory (typically under 1 GB free), try freeing up RAM, restarting Docker Desktop, and building the image again.
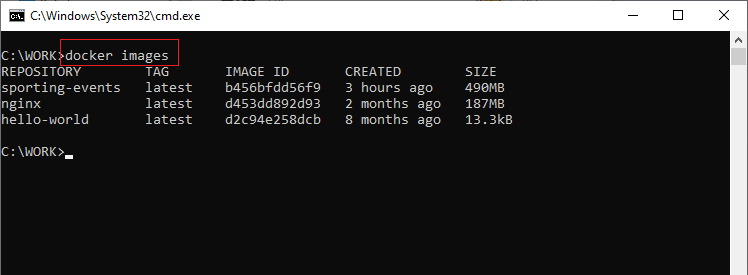
After building, go to the "Images" section in Docker Desktop. You should see your newly created image listed there.

Note that the image will have a status of Unused until a container is launched from it. Also, the image size may be around 500 MB, mainly due to the inclusion of a stripped-down Linux OS and the Java SDK.
You can view the image in the Docker CLI using:
docker images